Wondering how to flip a puzzle over? Then you’re in the right place!
Life always seems to happen when we least expect it, so sometimes we have to take a step back and refocus our energies. I’m hoping to get back into blogging on a more regular schedule, but for now I’ll just play it by ear.
Additionally, I’ve been trying to focus my efforts on finishing up some old projects that have been sitting around collecting dust and I tend to start new projects with excitement and then lose interest in the project very quickly. If anybody has any tips or tricks on how they finish what they start, please let me know!
How to Flip a Puzzle Over
Before I undertook the project of mounting and gluing a 4,000-piece puzzle frame by myself, I wanted to test out my idea first. So, during Christmas break,I did just that – and it worked!
Things you need for your jigsaw puzzles project:
- Clear contact paper
- Mod Podge Puzzle Saver
- Foam board
- puzzle glue
- Posterboard
- Rolling pin (optional)
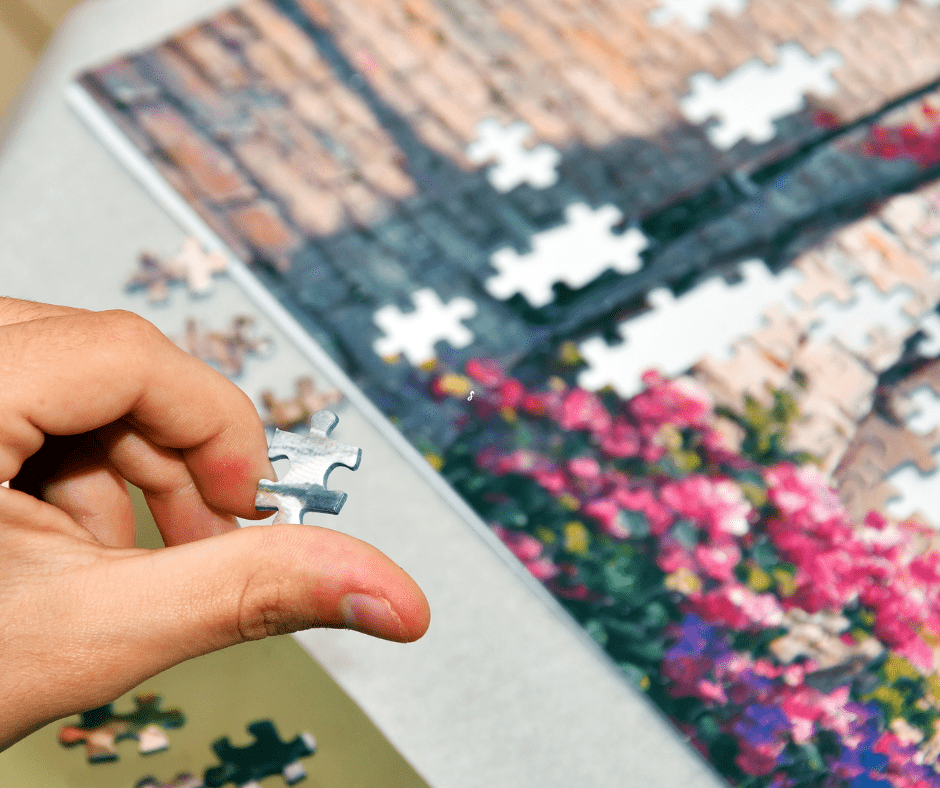
The concept is to flip all the puzzle pieces and glue the foam core backing onto the glued puzzle. So here is an example of a completed puzzle that was laid on a framed Puzzle Mat. I started by covering the puzzle with clear parchment paper, making sure to press down firmly so every piece would adhere to the contact paper on all the edges.
The puzzle can now be lifted right off the framed puzzle mat and the pieces stay together. To be honest, this made me a bit nervous so I put the puzzle back down onto the framed puzzle mat, picked up the tableau and leaned it against the back of my sofa.
If you don’t have a framed puzzle mat, you can slide the puzzle covered with contact paper onto a large piece of plywood or cardboard. Just make sure to hold the top of the puzzle as you stand it up. Or, if your Puzzle is small enough, you can just lift it off the surface and flip it over once the contact paper has been applied thoroughly to its surface.
I then pushed the puzzle, mat and all, over onto the floor. (Here you can see the reinforcements I added to the bottom framed puzzle mat — I mentioned them in my previous post but didn’t have a picture at the time.) I lifted the frame of the puzzle mat and viola! an upturned completed puzzle!
I then cut the foam core boards to size, making sure that they would cover the entire back of the puzzle (this particular puzzle measures approximately 53 9/16 in x 37 13/16 in). However, before gluing these down, I covered the entire back with a layer of Mod Podge Puzzle Saver. It’s imperative that you don’t saturate the puzzle with mod Podge so it doesn’t seep through any cracks and glue itself to the contact paper below.
Cover the entire foam core board with white glue, then affix it to the desired surface. You may need to place some heavy books on top of it to help hold it in place while the glue dries. Repeat this process for all remaining foam core boards. Finally, create strips out of poster board that will cover any joints between pieces of foam core; secure these in place with more glue.
This is what the back of the puzzle will look like once everything is glued in place. Allow everything to glue for about a half an hour, then flip the puzzle over and remove the contact paper.
That’s it! I recommend that you place some weights on the puzzle and let it sit for a few days so that it dries properly and doesn’t warp. I put the backing of the contact paper on top of the puzzle (just in case any glue seeped through) and covered it with books. Now, your puzzle is ready to be framed or hung up as is (the foam core boards are firm but light).
Final Thoughts on How to Flip a Puzzle Over
This method is definitely not for the faint of heart. I was nervous about damaging my finished puzzle, but it worked out well in the end. And if worse comes to worst, you can always peel off the foam core and try solving your jigsaw puzzle again.