Everyone remembers completing that 1,000 piece puzzle and wanting to frame it. This article will show you how to do so without using any glue!
Find a frame that you think will fit your puzzle. A good option would be going online and looking up custom framing companies, it might take some time but the reward of having an awesome framed puzzle on our wall can’t really compare! One you find the perfect frame, follow these steps:
STEP 1.
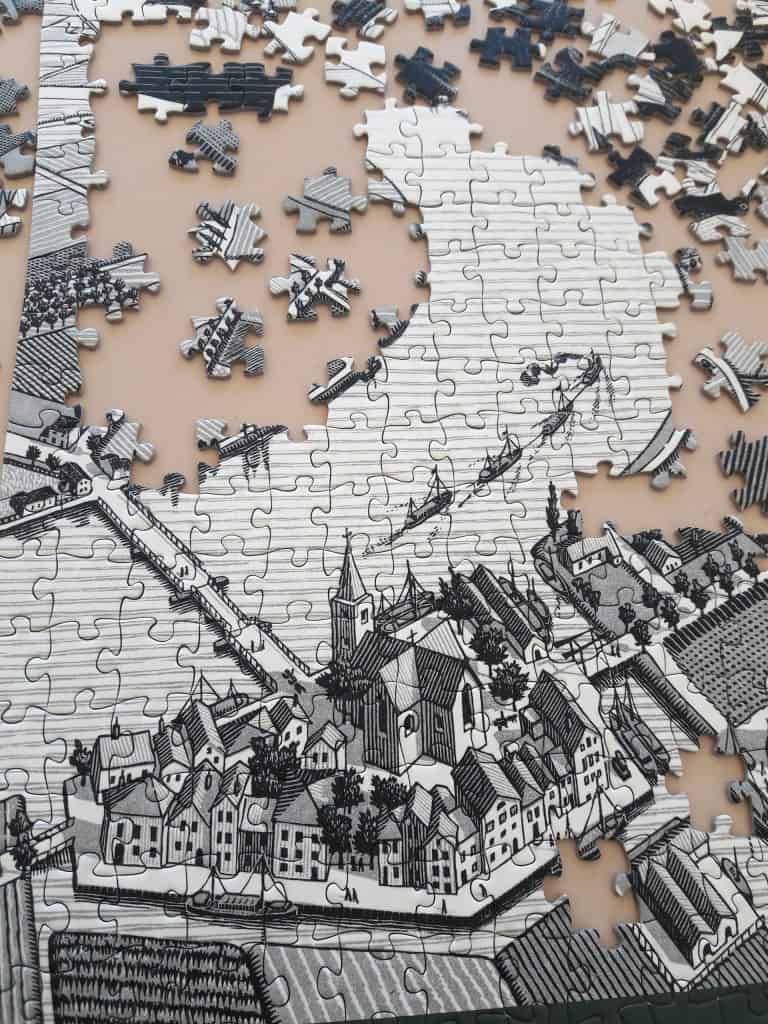
Puzzle time is always a great way to spend some quality alone time. But when it comes to puzzles, the process can be more difficult than you might think. It’s important for your puzzle pieces not only to fit together but also to match in color and shape so that they are visible against each other on both sides of the assembled puzzle. To give yourself an easier go at solving this task without frustrations or messes from all over, try assembling your puzzles on sturdy cardboard before flipping them over onto their backside which reveals what will eventually become its pretty front face down appearance once completed.
STEP 2.
With the back of a puzzle facing up, gather some packing tape that is wide and strong. I suggest using duct or painters’ tape which is 2 inches in width or wider to make sure you cover every inch of cardboard with it. After wrapping your way through rows on the top, trim off the excess from each side before flipping over the now-taped board for better handling without fear of tearing apart what has been laid down so far.
STEP 3. (OPTIONAL)
This step is completely optional. If you would like a firmer backing for your puzzle, purchase some poster board from your local craft or stationery store and cut it to size accordingly so that the edges are flush with the border of the finished project. Then attach double-sided tape across an edge on one side, then place this piece over top of another corner where there will be two pieces touching each other (think “L” shape). Pull back slightly and press firmly onto both sides until secure.
Framing the puzzle is an important step in preserving it. If you intend to frame it, skip this stage and go straight for poster board or cardboard if possible so that your project will fit inside of the frame properly without being too thick.
PRO TIP:
I hope that you enjoy your project and would love to hear about how it went for you in our comments section below. Will there be enough light where ever this masterpiece will hang? Make sure not to put too much pressure on any one area as well; stay away from steamy bathrooms or kitchens with high humidity levels if possible. This advice may even apply near areas such as patios – we don’t want these pieces blowing away amidst all those breezy afternoons outback either!
The process of putting together a puzzle can be difficult, but it is so rewarding when you see the finished product. Your blank canvas could become anything from an intricate portrait to your favorite landscape!