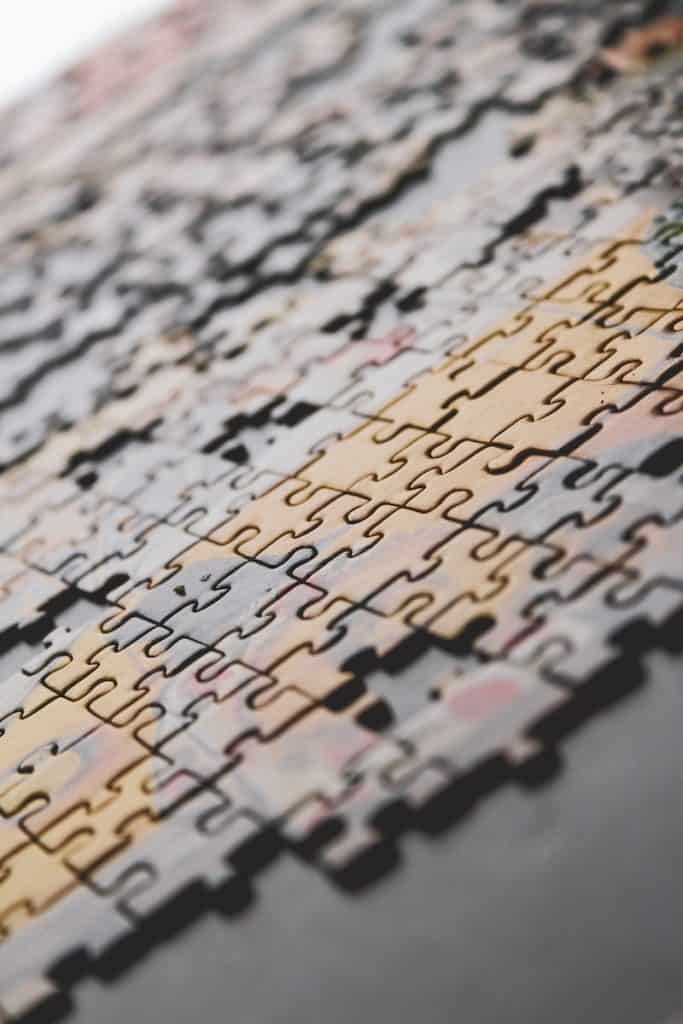
You spent hours upon hours carefully putting together a puzzle like mod podge puzzle saver, and now you want to show it off. But how to glue a wooden puzzle together?
In order to do this, you have to glue the puzzle. I understand your frustration–I had the same problem. I didn’t know how to best go about applying permanent adhesive to an already completed puzzle.
However, after consulting with some experts and doing a bit of trial-and-error, I can now confidently say that I am knowledgeable in this subject matter!
Let me teach you how to glue a wooden puzzle together so that you too can enjoy this timeless activity!

How to Glue a Wooden Puzzle Together
The best way to glue a puzzle is by using regular puzzle glues. It’s easy-breezy: simply apply the liquid glue on top of your desired puzzle piece and spread it out with an even hand, using a plastic spatula. Let dry overnight for permanent results!
The best glues for puzzles are transparent, drying, and liquid. Puzzle Glue, Wood Glue, White Crafts Glue, and Epoxy Resin achieved the best results. All of these glues work great for puzzles–Puzzle Glue being the easiest to use.
For those like me who enjoy completing puzzles, I would recommend either white wood glue or regular puzzle glue as they are both easy to find and use.
They’re not too costly and the results were always great. Just be certain to use wood glue that dries transparent. If you don’t want to use wood glue, there are other options that work perfectly.
The White Crafts Glue sometimes has trouble glueing pieces together depending on the puzzle and how it was printed (heat-treated or paint sealed print), which results in subpar final products. If you’re looking for a stronger bond, you could use Epoxy Resin; however, it is not easy to work with.
You have to mix Epoxy Resin before you can use it. It flows easily, so your puzzle could become stuck to the surface below unless you set it on something that won’t mind being fused with the resin—or put something like silicone between them.
Epoxy resin is slightly toxic, so you should only glue your puzzle in a well-ventilated area or outside. In addition, it can take up to 24 hours for the resin to completely dry.
How to Glue a Wooden Puzzle Together: Step by Step
Before beginning, we have to prepare the surface of your puzzle. After you carefully put the pieces together in a foam board, you probably touched each one multiple time, leaving natural oil from your fingers on the surface.
You should clean the surface of your puzzle very carefully to prevent oil, dust, hairs or other dirt from affecting the jigsaw puzzle glue ability to bond properly.
For best results, mix water with rubbing alcohol in a 3:1 ratio. Next, use a clean cloth and make it wet with the mixture–but not dripping. You can put wax paper or parchment paper to catch the dripping. A little bit of the solution will go a long way.
Next, lightly go over the Puzzle’s surface. Once it is clean, let the alcohol and water mixture evaporate for a minute or two until the surface is completely dry. After that, you can move on to the next step.
For the best results, glue your Puzzle on an even surface. This way, you avoid a crooked or lopsided final product. Be careful about using too much glue, though.
Before you glue your puzzle onto a surface, you should decide whether now is the time to transfer it. If you have a large puzzle with many parts, then maybe it would be better to glue it first and then move it.
If you’re using epoxy resin to glue your puzzle, transfer it to the new surface now or put something underneath it that epoxy doesn’t stick to, like silicon.
It’s time to add glue to your puzzle. Depending on the type of glue you’re using, the process may vary slightly.
To use White Crafts Glue, Wood Glue, or Puzzle Glue, apply a generous amount of glue to the surface of the puzzle and then spread it evenly with a plastic spatula. Be careful not to push down on your puzzle as you spread the glue.
Let the glue dry for at least eight hours. You have now successfully glued your puzzle. If you would like to mount or frame it, glue the puzzle to a chosen surface and proceed with mounting or framing it.
If you want to use Epoxy Resin for your Puzzle, mix the two parts together and spread it over the surface of the Puzzle with a spatula. Make sure that there are no bubbles in the epoxy mixture.
Once the epoxy is dry after 24 hours, your Puzzle will be solid and glued together permanently.
Do You Glue a Puzzle on the Front or Back?
I was confused when I first wanted to glue my puzzle together- wasn’t sure if I had to add the pieces one by one to a wooden surface, or flip it over and then attach the backing. After talking with other experienced puzzlers, I finally found out the best method.
You can glue a puzzle on the front or back. It is easier to glue the puzzle on the front.
Final Thoughts On How to Glue a Wooden Puzzle Together
There are many options for gluing a puzzle together, but make sure you always clean the surface of wooden jigsaw puzzles before applying the glue to ensure a strong bond. And remember, whether you choose to glue it on the front or back, let your puzzle dry for at least 8 hours before moving your glued puzzle. Happy puzzling!

