If you have the time to make your own puzzle, it can be a great activity for you and your kids. Making puzzles is not just an easy way to teach patience, but also lets them see how art comes together as well! You could create any type of personalized jigsaw puzzle that best fits what interests you or even makes sense with their level.
For example: if they’re into animals then find pictures of different breeds and arrange them on the board in order; If they like sports try collecting images from all kinds of games and competitions; If music is more up their alley than anything else- put some favorite musicians’ faces side by side before cutting out every other image on each individual card so when flipped over only one picture remains visible.
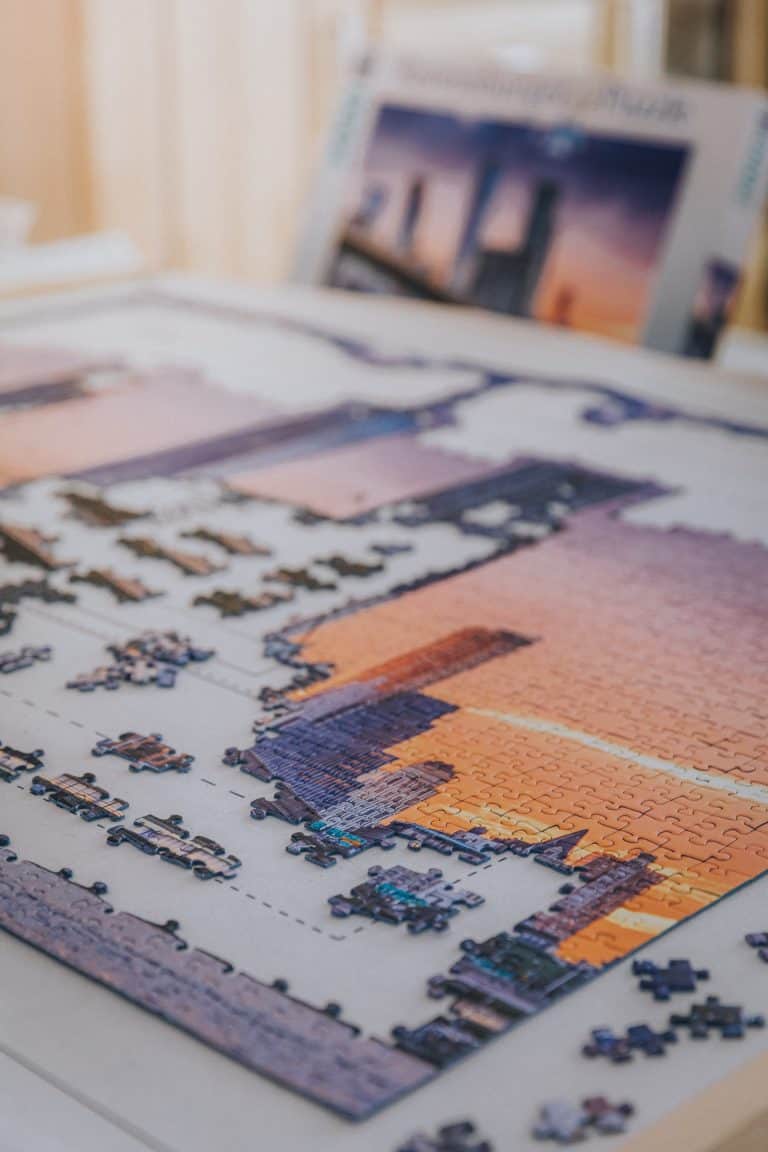
Materials You Need:
- Cardboard
- Puzzle Picture
- Scissors
- Glue
Things to Consider When Making a Puzzle
When you are planning out your next puzzle, first decide what size of piece you would like to work on. Find a rectangular or square sheet that will cover the area where your new masterpiece should be placed. Remember that it is important for any picture chosen to have enough space so as not to leave blank spots in between sections once complete!
The perfect cardboard can be hard to find in your local hardware store, but it is worth the effort. Measure out the size of each puzzle piece that you need and then decide what type of material will best suit your needs – thick or thin? What are you using this project for? If I am making a homemade jigsaw puzzle on my own time, having thicker pieces with good cutting lines makes sense because they won’t break easily as well as being able to use an exact knife without worrying about whetching too deep into one side.
Making your own puzzle can be a great way to make use of the uniquely shaped artwork you have created. However, it is important that the piece or photo for which you are making a puzzle not only has artistic value but also sentimental attachment if at all possible; otherwise there will always be some level of dissatisfaction from either side when attempting this process.
Making puzzles as an art form was something I had never taken on before and knew little about how they were made other than what my mother told me she did in her youth (cutting up photos). It might seem like an easy enough task to cut up these pieces into shapes needed for assembly given the size constraints imposed by common household scissors, however, once I attempted it myself with one such picture frame found among family treasures.
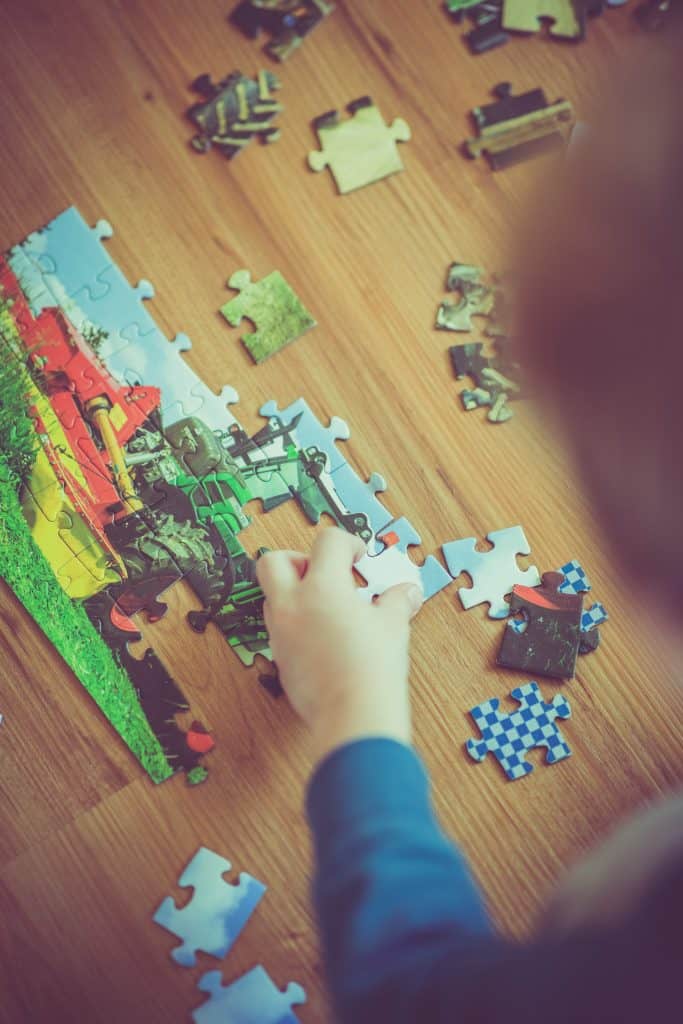
Step 1: Image Selection
Use your favorite image to make a personal puzzle. You can cut out the pieces and put them together like a jigsaw piece, or you could use photos for more of an emotional connection with family members that have passed away.