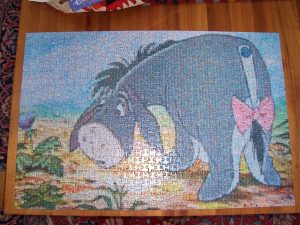
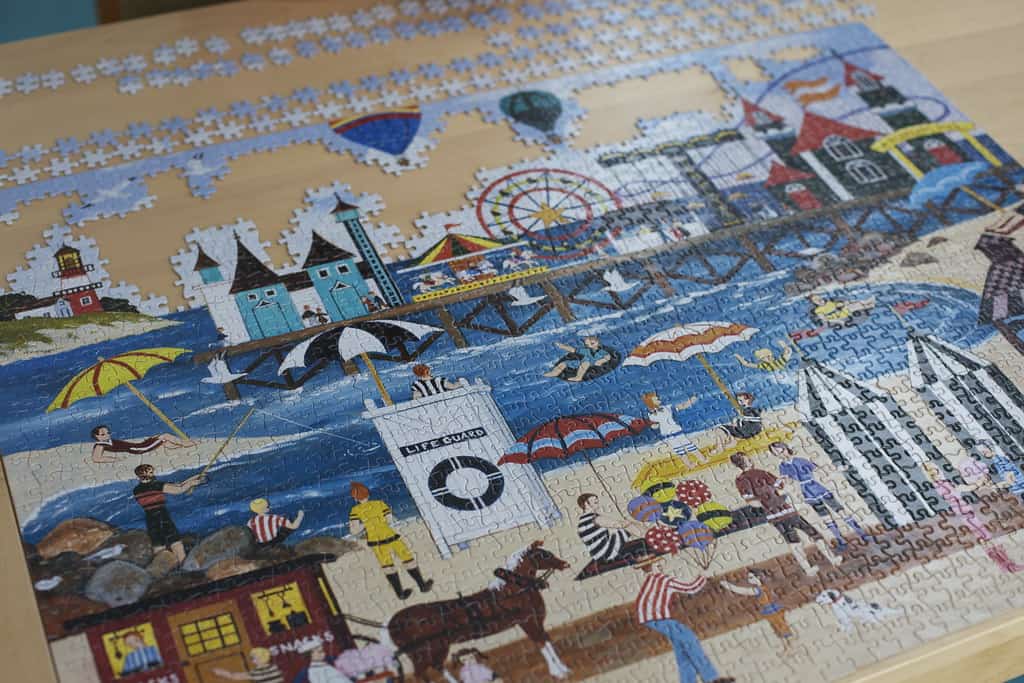
How to seal a jigsaw puzzle? Completing a jigsaw puzzle is a gratifying experience, a testament to your patience and dedication. However, ensuring your hard work withstands the test of time requires careful preservation. In this detailed guide, we will delve into the intricacies of sealing and displaying your completed jigsaw puzzle, transforming it into a lasting work of art.
Why Seal a Jigsaw Puzzle?

The culmination of your puzzle-solving journey deserves protection. Sealing your puzzle serves as a shield against potential damage, preserving it for years to come. Beyond protection, sealing enhances the puzzle’s longevity, making it easier to clean and display without fear of wear and tear.
Materials Needed
Before embarking on the sealing process, gather the necessary materials:
- Mod Podge or Puzzle Glue: Choose based on the desired finish.
- Brush: Ensure even application of the sealant.
- Wax Paper: Create a mess-free workspace.
- Dry Mounting Supplies: For a professional touch.
- Business Card: Useful for smoothing out bubbles.
- High-Quality Puzzle: The foundation for preservation.
Preparing the Puzzle
Begin with a solid foundation. Complete your jigsaw puzzle on a flat, clean surface, ensuring all pieces fit snugly. This step is critical, as any imperfections in the puzzle assembly may be magnified during the sealing process.
Choosing the Right Sealant
Dive into the world of puzzle sealants. Mod Podge offers a glossy finish and robust protection, while puzzle glues provide a matte appearance. Consider the overall aesthetic you desire for your puzzle before selecting the sealant.
Applying the Sealant

Apply the sealant with a brush, ensuring a thin, even layer. The key here is moderation; too much glue can result in a cloudy finish. For any bubbles that may appear during application, use a business card to gently smooth them out.
Drying and Curing
Exercise patience during the drying and curing phase. Rushing this step can lead to imperfections. Allow your puzzle to dry thoroughly before moving it, understanding that the curing process may take several hours to a day, depending on the sealant used.
Frame or Mounting Options
With your sealed puzzle ready, consider your display options. Traditional framing offers a protective barrier and a polished look. Alternatively, dry mounting on a backing board provides a sleek, professional appearance suitable for hanging on any wall.
Tips for Troubleshooting

Encountering challenges during the sealing process is part of the journey, but with a few strategic tips, you can overcome common problems and achieve a flawless finish.
- Dealing with Streaks: Ensuring an Even ApplicationStreaks on your sealed puzzle can be disappointing, but they’re often a result of uneven sealant application. To avoid this issue, follow these steps:
- Use the Right Brush: Opt for a high-quality brush suitable for the size of your puzzle. A brush with fine bristles ensures a smooth and even distribution of the sealant.
- Apply in One Direction: When applying the sealant, try to consistently brush in one direction. This helps minimize the appearance of streaks and ensures an even coating across the entire puzzle surface.
- Moderation is Key: Avoid overloading the brush with sealant. A thin, even layer is preferable, reducing the likelihood of streaks.
- Tackling Bubbles: A Business Card SolutionBubbles can disrupt the flawless finish of your sealed puzzle. However, with a simple tool like a business card, you can smooth them out effectively:
- Smooth and Steady: As you notice bubbles forming, gently glide a business card over the affected area. The firm, flat edge of the card helps smooth the sealant without causing any damage to the puzzle pieces.
- Work from the Center Outwards: Start from the center of the bubble and move outward. This technique helps push excess air out from under the sealant, reducing the chances of new bubbles forming.
- Addressing Uneven Coating: Adding Sealant with PrecisionAchieving a consistent and even coating is crucial for a professional look. If you notice areas with an uneven application, follow these steps:
- Identify Uneven Areas: Before the sealant dries completely, identify any areas where the coating appears uneven or thinner than desired.
- Apply Additional Sealant: Using your brush, apply a bit more sealant to the uneven areas. Ensure that the added sealant blends seamlessly with the existing coating to maintain a uniform finish.
- Feather the Edges: To avoid creating new edges or lines, feather the edges of the newly applied sealant into the surrounding area. This technique helps create a smooth transition between layers.
Final Thoughts: How to Seal a Jigsaw Puzzle
Congratulations! You’ve successfully navigated the intricate process of sealing and displaying your jigsaw puzzle. Whether you opt for a classic frame or a modern mounting, your puzzle is now a work of art deserving admiration. Share your masterpiece proudly and revel in the satisfaction of preserving a moment of triumph. Puzzle on!

